We recently got rid of an old couch (Check out what we did with the leather in Apothecary #3) in our living room, which really opened up our space. It was placed in front of our giant 8ft. front window.
Quickly after that couch was gone, Sam placed our three houseplants (which were in our kitchen windowsill; being Winter in Utah, it’s way too cold to keep the plants there) on the carpet, in front of our newly freed-up space. Charming? Hardly. My dear Sam was just trying to keep these plants healthy though, I knew. After watching the plants new home on the carpet for a few days, I thought this won’t do.
Duh! Make a window bench to house the plants! Sam loved the idea, and so we jumped on the project immediately.
We went “shopping” for material in our garage turned wood shed. The options were limitless!! After hauling up a ton of wood, we sorted it all out, and started the process of letting the wood guide us where to go.

Here is where the fun began. We picked out the panel that was about big enough for our plants:

This gorgeous piece was it. This piece Of solid oak was salvaged off an old barn somewhere in Montana, and had been set up against some cement (as we found chunks of cement that had filled in some knot holes.) A little rough, right? But with original saw tooth marks, and nail holes! It was a little dirty, but after washing and some light skip sanding, this is what we came out with:

Check out these saw tooth marks!

Then Sam picked out some pieces to frame the top by mitering each cut.

Now, the pieces that were chosen were different widths, so it created small triangle gaps at the corners. We went with it.
Then came the legs, and the skirt that hid where the legs were attached.

It turned out great! It’s the perfect little bench for our plants.

Being our first piece, we decided to put a couple of protective coats of water based polyurethane over it, and did not oil or stain the oak.
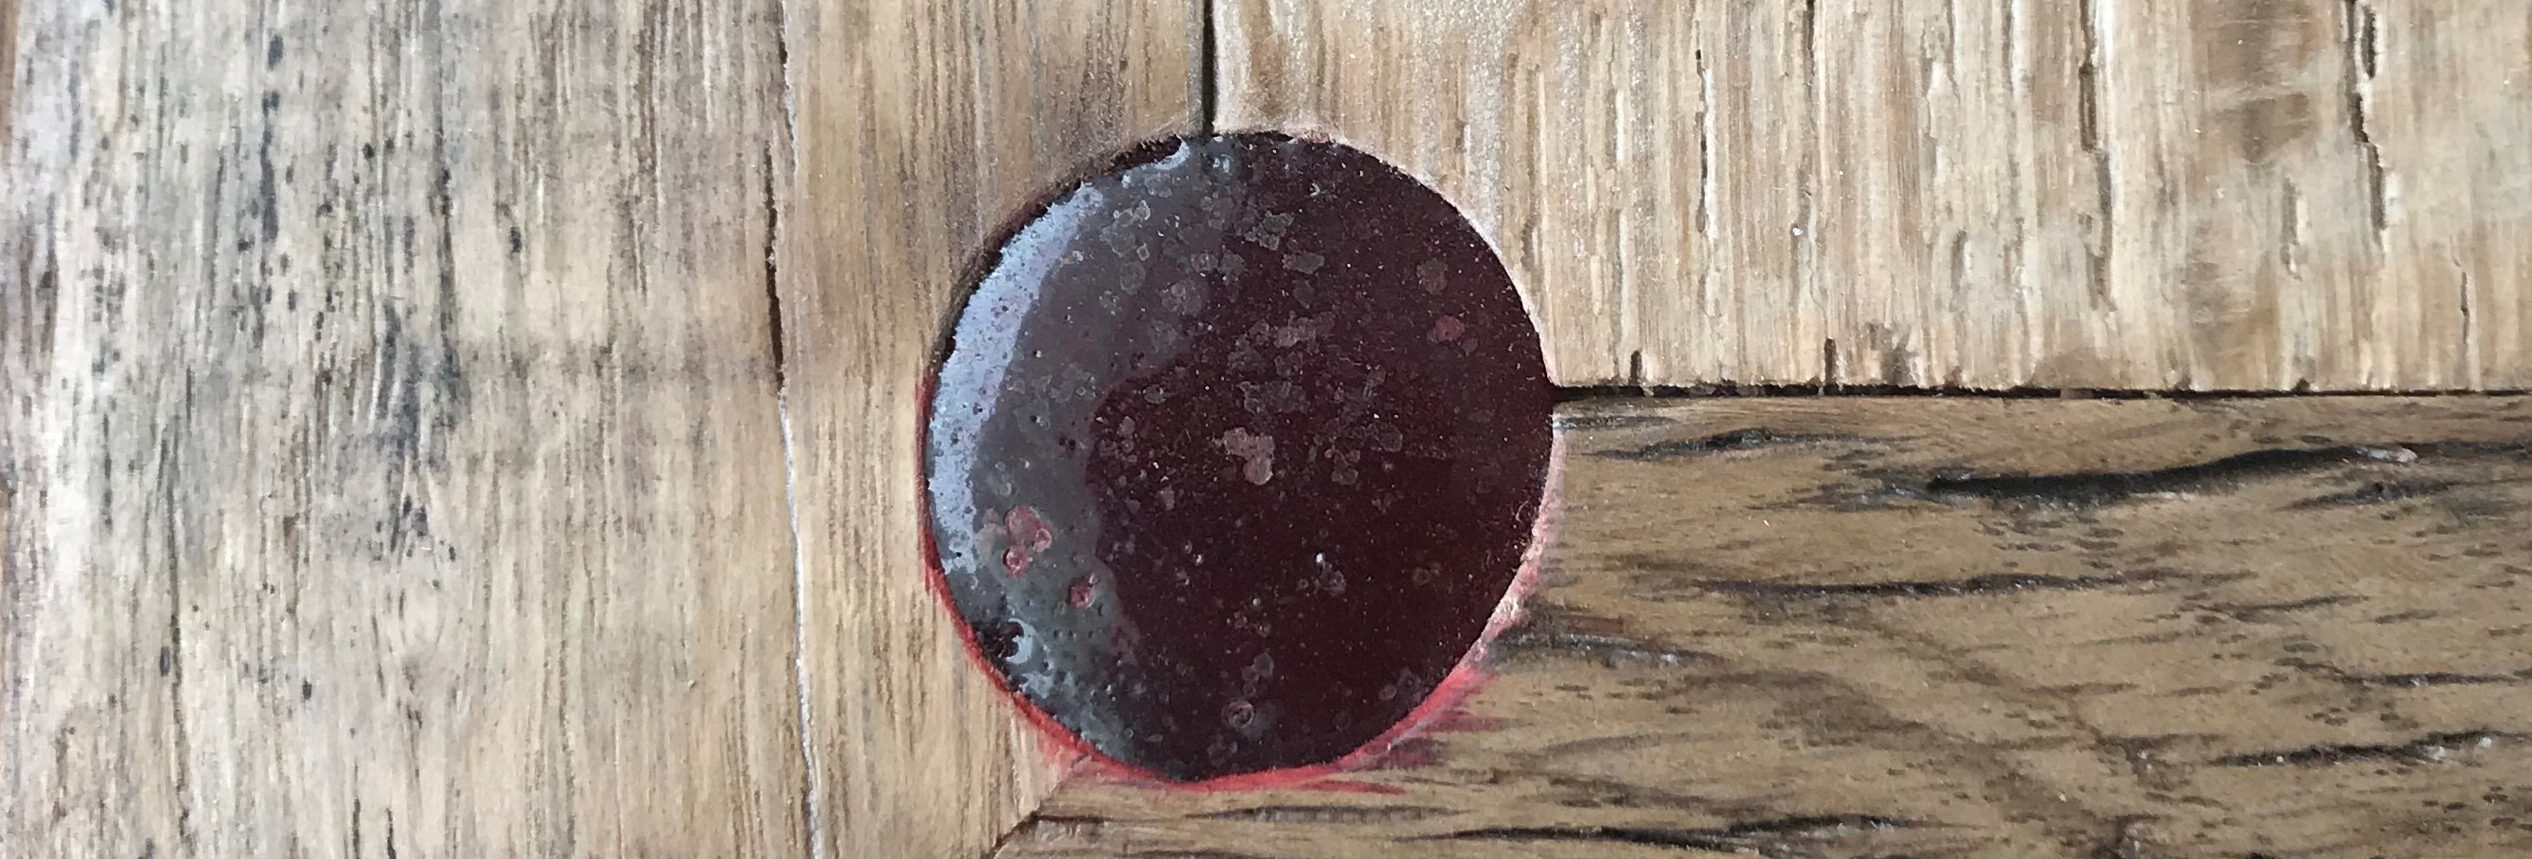
And remember those little triangle holes?

We filled them with epoxy. We used a quick setting epoxy you can purchase at any store, and used food coloring to dye it red. It ended up setting quicker than we wanted, and came out a bit foggy instead of clear:

After we completed this first bench, Sam and I looked at each other and thought “what should we do with the rest of the wood we cut the top out of?” I started to feel like this wood needed to stay together, and so did Sam… so he whipped out a second bench in half the time. The design was a little different, but it nests under the first one!

Slat-style tapered legs:

Now this second one has a gap on each of the shorter sides of the panel, and we plan on filling these holes with epoxy as well, but we aren’t sure what kind is best. (Check our my updated post in Barn Wood Bench: Finishing the Epoxy). Do you have any suggestions? Leave me a comment or contact me if so.
The last portion of this story, continues with one last piece of oak panel left. It wasn’t much to do anything with but Sam has a great Christmas present in mind for me: (check out my next post)
With Love, Erika Nora
