
Sam and I had been pondering the design of our new walk in closet for months. We had finally decided to go with green/gray walls that matched our bedroom and plain white MDF shelves from our local home improvement store.
We were finally ready to get started on this project one Saturday morning, and Sam looked at me and said “What if we went with Walnut veneer shelving for our closet instead?”
“Uhhhh…. yeah! Can we do that? Do we have enough material?” I replied.
“We just might.” Said Sam.
So we got geared up, and went shopping in our garage! We pulled out all the Walnut veneer that my scrappy Sam had been saving, and it turned out that yes; we had just enough!
We had access to a giant table saw at the time, so after Sam drew out the cut list, and marked the sheets of veneer corresponding to the cut list, we packed up our material, and headed over to the shop.
It took us about 5 hours to cut down all the material, and then we headed home.
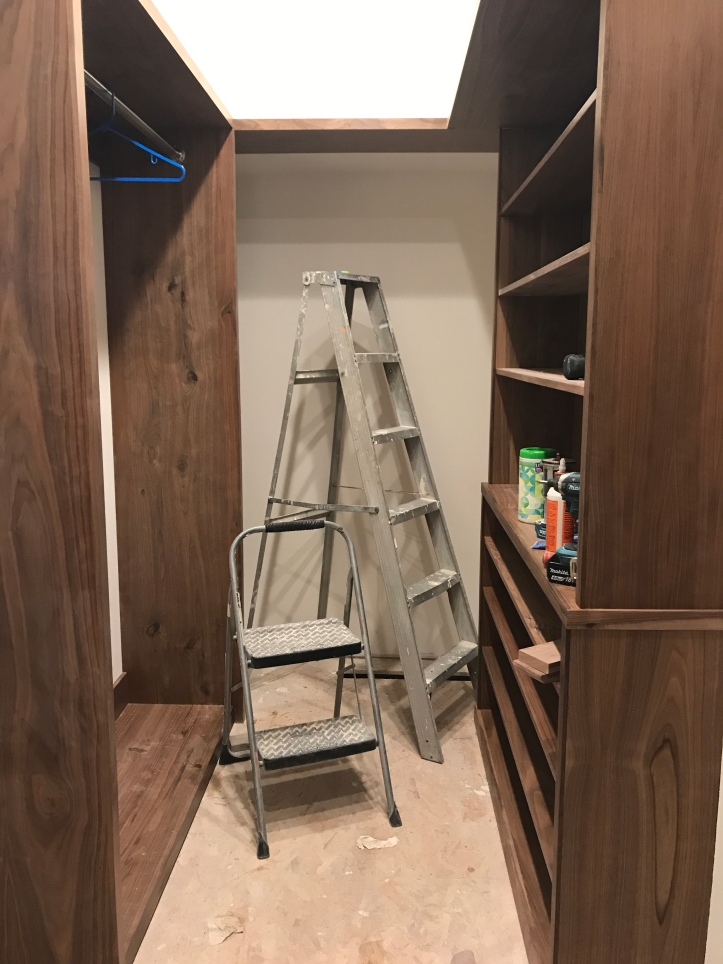
Somewhere in the middle of this all, we textured the ceiling in the closet, level 5 mudded the walls, and painted them white. (All techniques which we had discovered on YouTube!)
Next, we sanded down all the material; shelves, panels, tops; which took countless hours, then prepared them for coating with Polyurethane. We decided not to stain anything, and just let the wood be what it was.

My kitchen was quickly taken over with drying panels of walnut, which I didn’t mind at all.
Lesson: Label each piece accordingly; what it is, what side needs to be polyed, and the front or back edge.
We then used our Husky HVLP spray gun to apply a couple coats of Polyurethane, sanding in between.
We made 4 top shelves and a cabinet top, by doubling up two pieces of MDF, then attached the nosing, and flush trimmed it with our Makita hand router.
We then installed our first floating shelf! To do this, we used the “cleat dato” method, this is where you rout out a square notch in the back of your shelf, and make a dowel that will fit perfectly in that space. We routed out the sides and back of our shelf, attached the dowels to the wall, and slid in the shelf.
Here’s a photo I sent my mom. When she asked “How do you do that?” I replied, “Lots of glue,” tehehe.

Then it was time to edge band some shelves. This covers up the raw mdf, and makes the panel look like solid walnut.
We then built the shelves in place, using a 16 gauge pin nailer, glue and confirmat screws. (Confirmat screws, as I learn in the video, are chunky screw meant to be used with MDF)

Hard wood nosing was attached where the raw MDF was showing.
My end of the closet:
Sam’s end of the closet:

Last were the clothes rods and hooks. We had to cut the rods down to custom sizes using a metal grinder. We went with a brushed stainless steel metal. They look perfect!
Sam’s end:

Erika’s end:


What do you think?!
With Love, Erika Nora

Reblogged this on Home Improvement Stores + Services and commented:
built-in, carpentry, cleat dato, closet, closet rods, diy, edge banding, floating shelf, hard wood nosing, home improvement, shelves, shoes, storage, veneer, walnut
LikeLike