Browsing at the thrift store 2/9/19, Sam and I ran into this little beauty for $12:

Fancy wood legs with a plywood top? Well, the top had some plastic laminate on it before I got my hands on it; but it peeled off when I pulled it out of the truck after we got home.
The fancy part of the spindle legs in the middle were plastic, but I figured the plastic would paint over well. In fact, we didn’t realize this part was molded plastic until we inspected it in the checkout line.
Day 1: I took the plywood top off with a hammer any some prying work (which included over 30 2″ finishing nails and a crap ton of glue. Hello!) and cut some reclaimed oak pallet wood for a new top.
Before milling:

After sanding and planing:

Turns out one of my planks was hickory. Can you spot which one?
After gluing and clamping the new top, I painted the base with two coats of Dixie Belle’s Fluff chalk paint:

Let that dry for two hours, then used a 220 grit piece of sand paper to lightly distress it. FYI: I recently found sand paper at Harbor Freight for SUPER cheap. This is my new go to place for sheets of sandpaper.
Day 2: I finished distressing this piece.
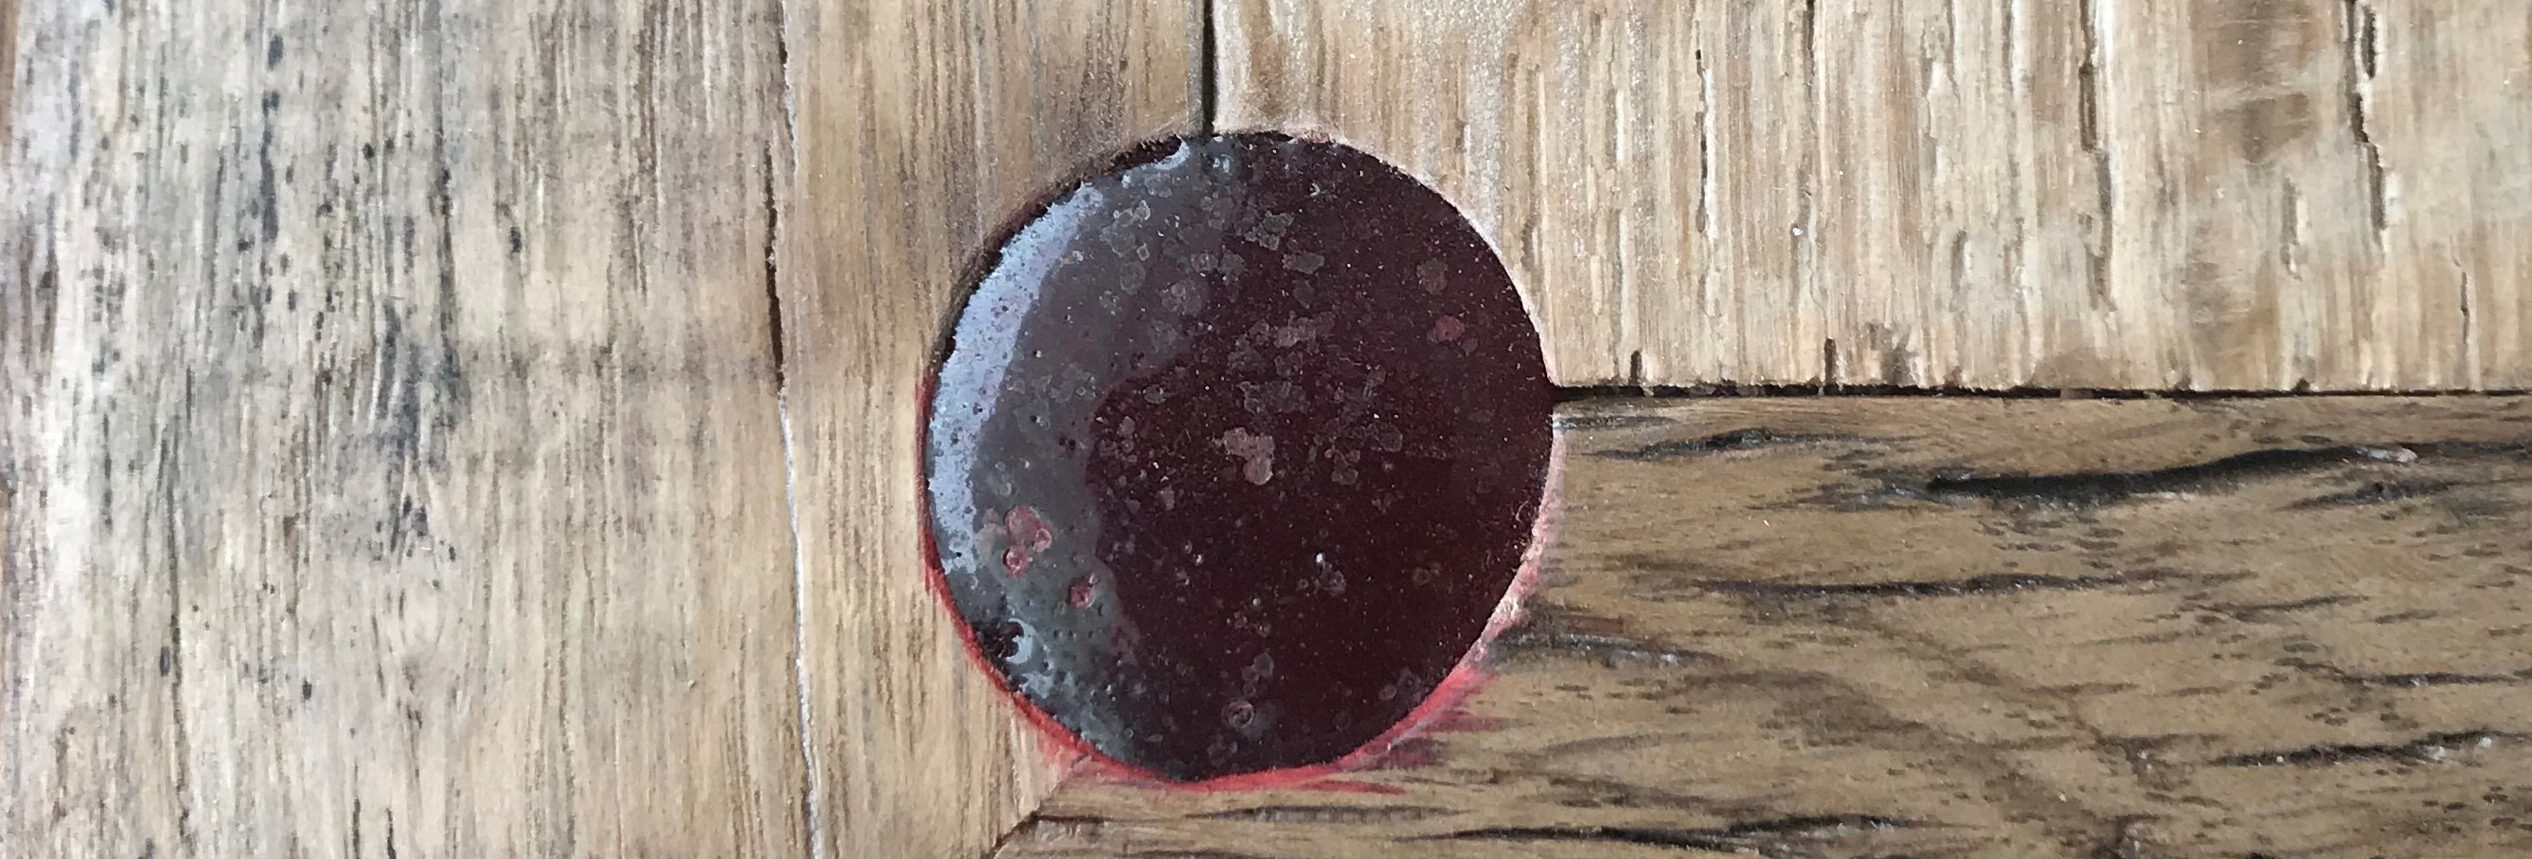
Day 3: I applied Dixie Belle’s Best Dang Clear Wax to protect it. Then I stained the top with our favorite Varathane Dark Walnut Stain. To get in the cracks, I used a small plastic pippetor filled with the stain.
Day 5: I Polyed the top:

Day 7: I sanded with 80 grit and applied a second layer of Polyurethane on the top.
Day 8: I attached the top on to the legs.
Day 9: I finally staged the photo!


I’m slowly getting better at staging, and understanding that this whole deal revolves around a good picture! The best light I get is the natural morning light, around 7:00-9:00 A.M.
What do you use to stage for your photos? I need some tips.
With Love, Erika Nora

I really like this one. How cute!
LikeLiked by 1 person
Thanks Cheri!
LikeLike
Great work! It looks beautiful.
LikeLiked by 1 person
Thanks! It was a fun flip.
LikeLike